.jpg)
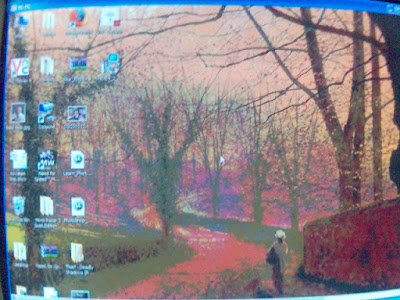
(da pic shows my desktop as viewed by sreejith on his system, the pic was taken on his cellphone, so da quality of pic is not so great :) )
Virtual Network Computing (VNC) is simply sitting in your home and controlling a computer which is connected to a common network, like a LAN or even the internet. It can be helpful when you need assistance from someone who is sitting far away. You can grant permission to dat person so dat he can share control of the system and he could move around with your cursor, use that keyboard and all general stuff.... reading theory is boring, so I will go onto the practical’s. (Check out da apache 160 rtr ad )
Rj has been doing this for a long time on the Ubuntu, I got it working in windows today. And it’s pretty simple and basic. To try this out, you need two people who are connected to da net and have da software. Here is how you go about it:
- Goto http://www.realvnc.com/ and find the right download for your OS (I tried with a trial enterprise edition.
- Once you are done downloading, install it. Just follow all the instruction and keep giving next-next-next. For ease of access place an icon of the ‘VNC viewer’ in the desktop.
- Once both the people are done with installation, goto start and run the VNC service. A white logo appears on the system tray (beside the clock). Double click dat and the following window pops up. Just for seeing it work, use ‘No authentication’.

- Now connect to the net. And one person, say A, can be the viewer and the other person’s, say B, system will be viewed and controlled by A.
- Now what B has to do is move the cursor over the VNC icon on the system tray (just hover over it, don’t click)... and when the cursor is there a tooltip pops up having 2 addresses. Take down the first address (dat is before the comma). For BSNL, ppl it will generally be 59.xx.xx.xx . This is the ip that has been allotted to your system.
- Now B can send this ip address to A (thru yahoo messenger, orkut or whatever). Now A has to run the VNC viewer from the desktop or the start menu. And a server address will be asked : here input the address obtained from B (and from the drop down list select ‘Always On’, this was da config dat I got it to work, have not worked around with it much at the time of blogging). Once this is done, a Real VNC window should open and person A should be able to view and access person B’s system.
- B can know that a connection is established when his RealVNC icon turns black.
This is the basic setup that I had it working on. Hope it works for you too. Once it has started working, make sure you enable password encryption for your safety.
Special thanks to
Rj – for letting me know dat such things exist
Dish-for working with rj and inspiring me to try it by showing a pic... and taking a seminar on it soon.
Sreejith and Aarti for giving your precious time in working with me and testing it and doing all sorts of alambu on my system.
TRY IT... its worth it and its fun.. ask aarti, she will tell you J
*-*-PeAcE-*-*
This is something dat i did, i cannot say how much of the above mentioned is true or can be classified as valid information or data.. ALL I KNOW IS THAT IT WORKED FOR ME.
 Make sure the first option is checked. All the other options are optional. Thats it. You know have a Real VNC server running on your ubuntu box which other users can connect to using your ip. To get your ip in ubuntu open Applications->Accessories->Terminal and type in ifconfig.

.jpg)
